[Shopify] How Customers Manage Scheduled Orders
Table of Contents
How Customers View Scheduled Orders
How Customers Manage Scheduled Orders
How Customers View Scheduled Orders
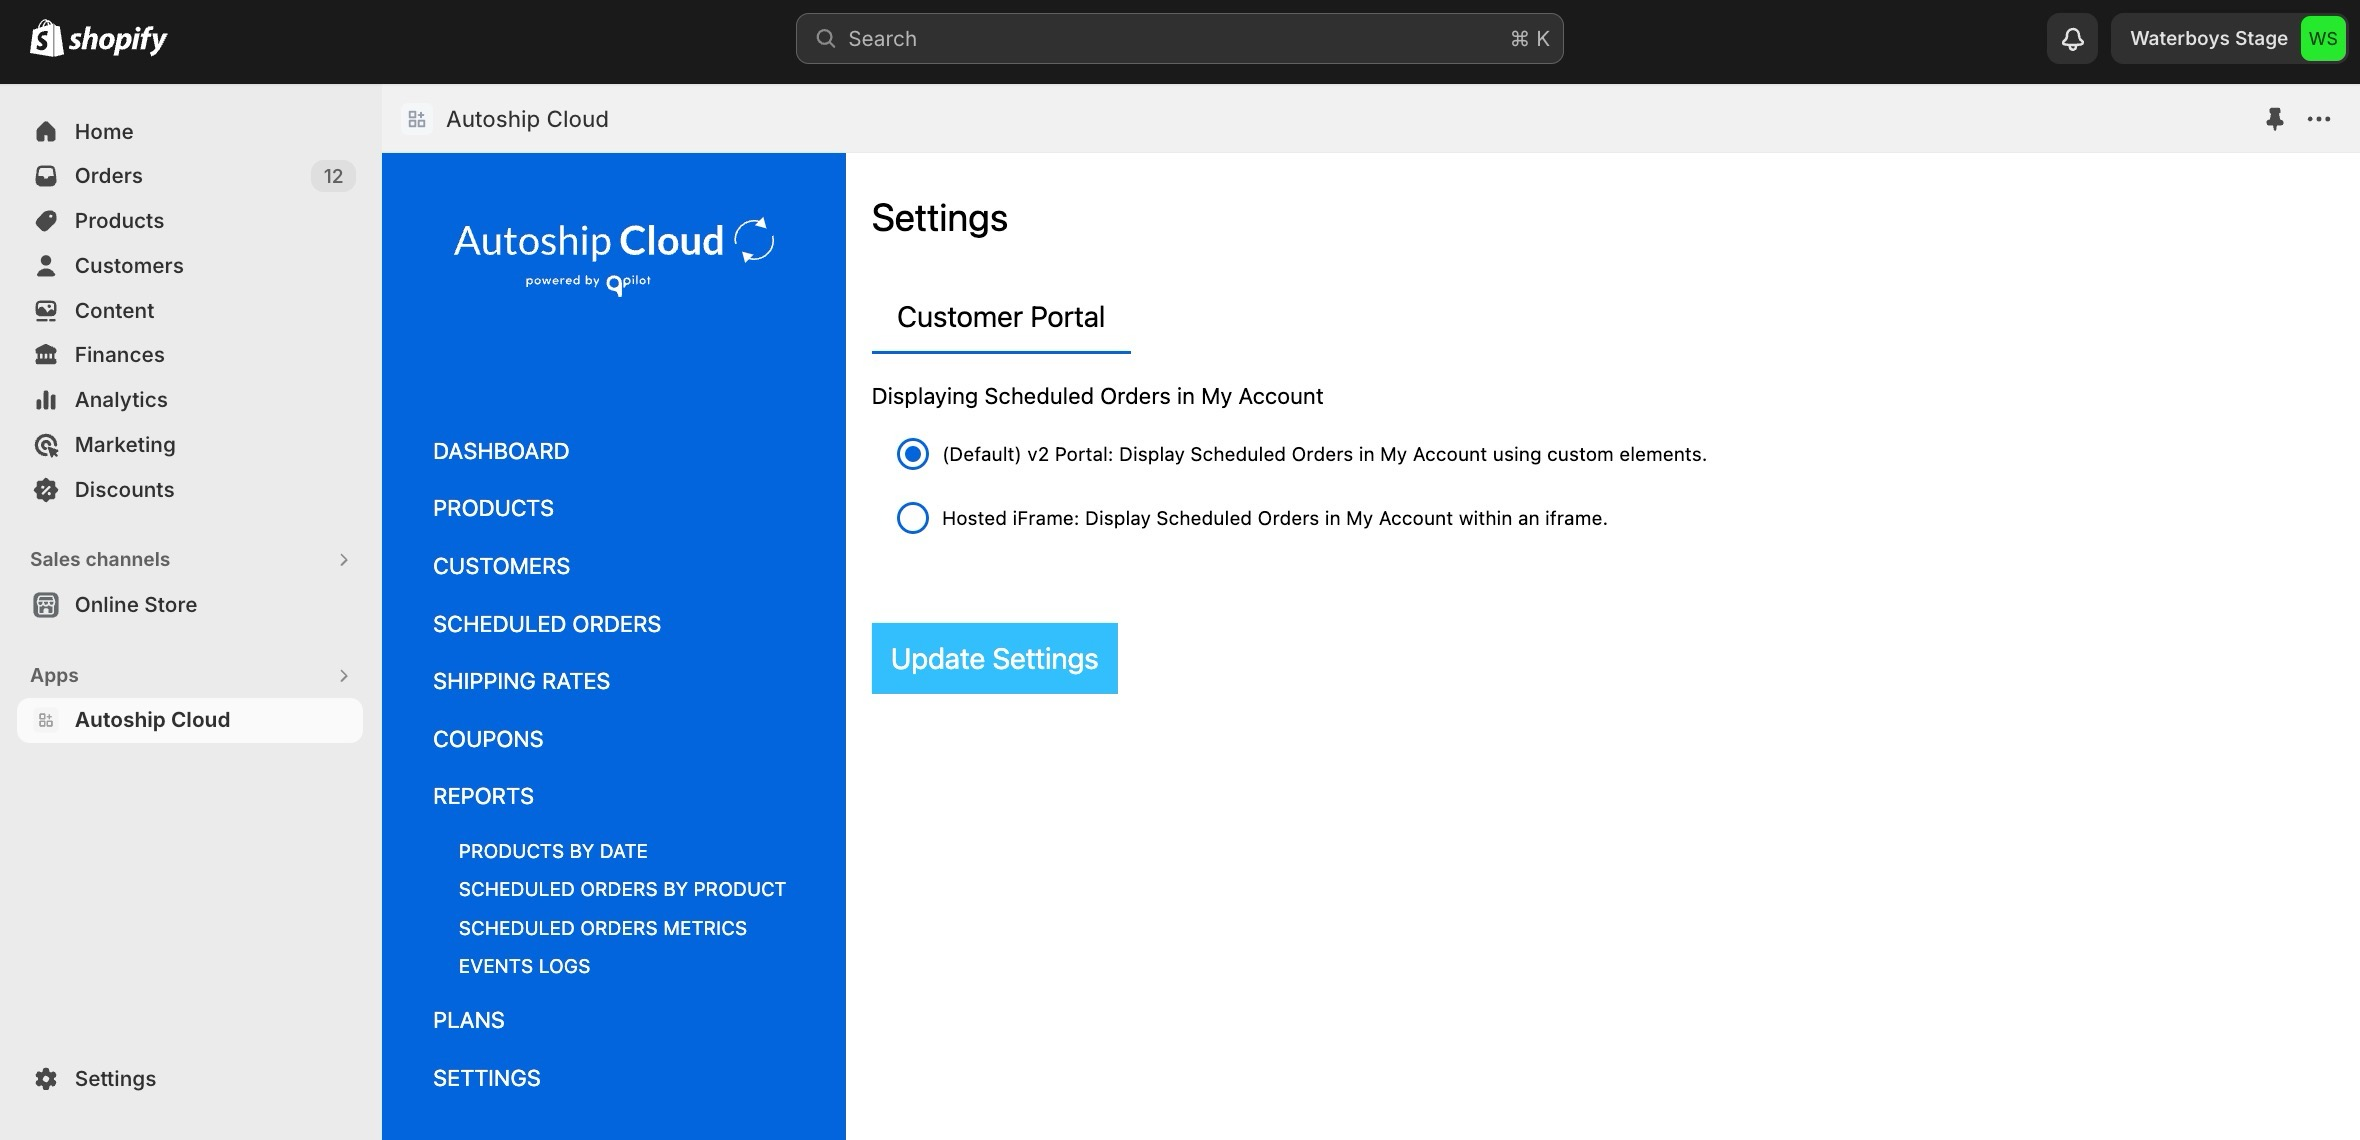
Customers can view and edit their Scheduled Orders in Shopify from the Account page using the Hosted Autoship Scheduled Orders iFrame. This customer experience display is hosted for you (on our servers) so it loads & updates fast!

Ensure Customers Can View/Edit Scheduled Orders
In order for customers to be able to manage their Scheduled Orders on your Shopify site, first ensure that customer profiles are not hidden.
-
Go to Shopify Admin > Settings >> Customer Accounts and ensure customer accounts are not hidden under "Accounts in online store and checkout".

- If they are hidden, you will need to edit this setting and select "Show login link in the header of online store and at checkout". We suggest implementing "New customer accounts" for the best user experience (both new and classic customer accounts are supported).
-

Customer Account Settings
-
- Once enabled, make sure to save your changes.
- If they are hidden, you will need to edit this setting and select "Show login link in the header of online store and at checkout". We suggest implementing "New customer accounts" for the best user experience (both new and classic customer accounts are supported).
- Next, ensure that the Scheduled Order page is added to your Customer account navigation (main menu). Go to Shopify > Content > Menu, and then ensure "Manage Subscriptions" is added to the customer account main menu.
- Your Scheduled Order account page can be confirmed from Shopify > Settings >> Apps and Sales Channels by reviewing the App Proxy section for Autoship Cloud. It is most often https://yoursite.com/a/qpilot/subscriptions or https://yoursite.com/a/subscriptions.
-

App Proxy Settings
-
- Your Scheduled Order account page can be confirmed from Shopify > Settings >> Apps and Sales Channels by reviewing the App Proxy section for Autoship Cloud. It is most often https://yoursite.com/a/qpilot/subscriptions or https://yoursite.com/a/subscriptions.
- Once enabled, customers will be able to access subscriptions from the account portal. Visit your website and make sure it's showing as expected!
- Protip! You can confirm your Shopify Customer account links as outlined below. Your account link can be confirmed in Shopify > Settings >> Customer Accounts by reviewing the URL section.
-

Customer Account URL
-


How Customers Manage Scheduled Orders
Creating a New Scheduled Order
A customer can add a product with a frequency selected to the cart in order to create a new Scheduled Order.
- Visit a product page.
- Select the Autoship option (sometimes called "Subscribe and Save").
- Select a Frequency.
- Select "Add to Cart".
- Complete checkout as a new or existing customer.
Editing Scheduled Orders
Customers can use our v2 Subscriber Portal to make changes to their Scheduled Orders! See below to learn more about this portal and how to use it as a merchant and a customer!
In summary, the v2 Portal enables your customers to:
- Edit their Scheduled Order
- Updating the Next Occurrence Date
- Changing the Scheduled Order Frequency
- Changing the Scheduled Order Status
- Adding or Removing Products
- Pause / Resume Scheduled Order Processing
- Delete a Scheduled order
Learn more about how the v2 Subscriber Portal works here & See How-To Examples for customers here.