USPS
Connect your USPS WebTools account with QPilot to apply carrier rates to Scheduled Orders.
Step 1: Add a Post Code to your QPilot Site
Adding your "Origin" Zip Code is a vital step to setting up your USPS integration. USPS utilizes your site's "Origin" Zip Code to automatically calculate available shipping rates and then sends this information to QPilot.
- Login to https://portal.qpilot.cloud/
- From the Sites page, edit the site you want to localize by clicking on the Site > Edit.
- Set your site's base location in the "Options" tab
- Set your site's Zip Code

Step 2: Add the USPS integration for your site
- From the Sites page, select your site to view your Site Dashboard and then select "Shipping Integrations" from the menu
- Create a new Shipping Integration (click the "+" icon) and select "USPS"
- Enter your USPS UserId - this is UserId for your USPS WebTools account:
- If this is a "test" account, enable the "Test Mode" checkbox
- Select "Create" to finish
Step 3: Create Shipping Rates for USPS

- Visit Shipping Rates to add a new Shipping Rate (select the blue "+" icon)
- For Shipping Type, select "USPS"
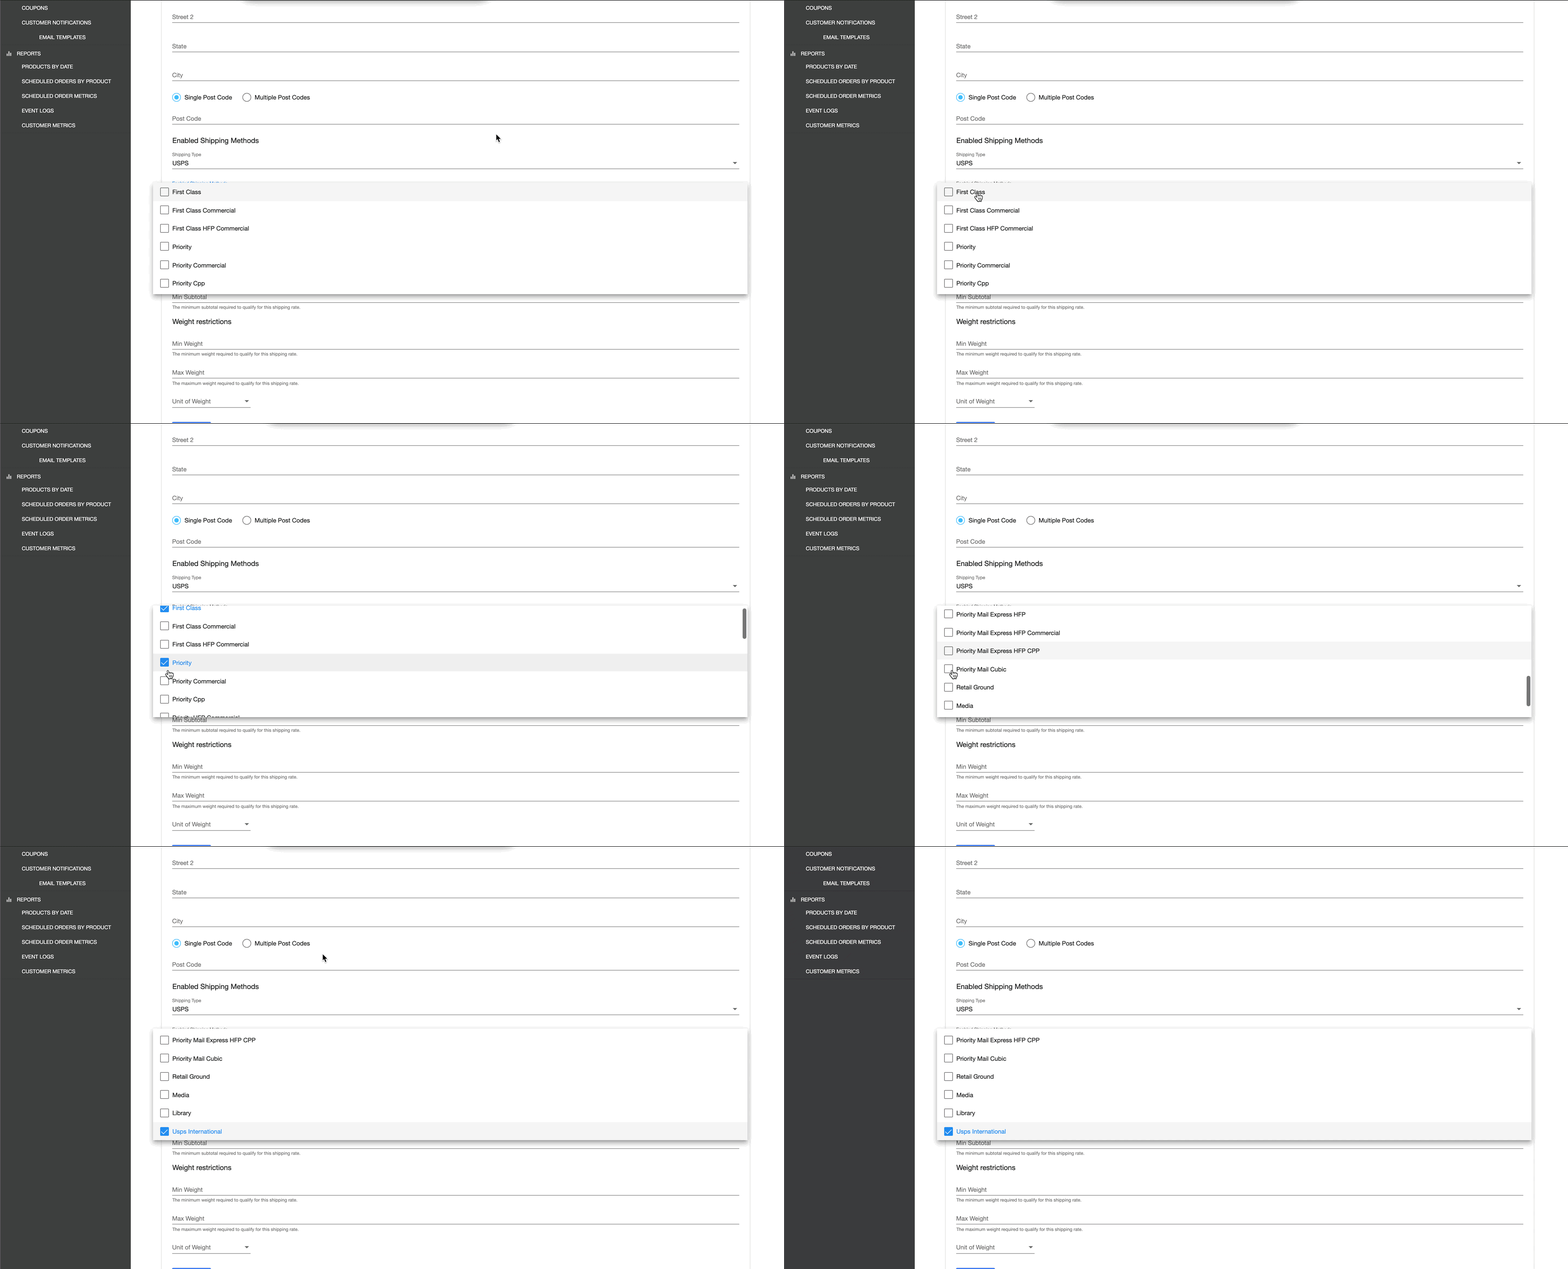
- For Enabled Shipping Methods, select the USPS Shipping Method(s) you would like to apply for this Shipping Rate
- Set any other shipping conditions you would like to use to match this Shipping Rate to Scheduled Orders
Other Requirements:
- Products must have dimensions and weight. These properties are set in your connected site's Products and synchronized to QPilot.
- Like other shipping rates, the lowest cost / cheapest shipping rate that a Scheduled Order qualifies for will be applied automatically
- When applying multiple USPS Shipping Methods within a single shipping rates, QPilot will automatically validate all the potential rates and apply the lowest cost rate to the Scheduled Order.
